This Barrie 360 content is brought to you by United Lumber Home Hardware
A quality paint job is one of the easiest ways to transform and update your space. The right colour can add warmth, brightness, drama … whatever mood you are going for.
To help you achieve that professional paint finish, here are 7 tips to help you paint your room:

1. Take Time To Patch Holes
Before you start to paint your room, take time to fill holes, scrapes and other imperfections. This is even more important if you’re going to use a lighter colour that will show flaws more clearly.
Start by filling the holes with spackle. Once it dries, sand it until you have a smooth and level surface. A 220 grit sandpaper will be perfect for this job
Finish by using a damp towel to wipe up any loose dust.
2. Clean The Walls
Next, you want to remove dirt, grime, cobwebs, dust and stains. Otherwise, they’ll prevent your paint from adhering properly.
To clean the walls, wipe them down with a mixture of lukewarm water and mild soap. Next you’ll rinse your walls with a slightly damp cloth or sponge before letting it air dry.
Always be careful around electrical lights and outlets when washing the walls.
3. Remove Plate Covers
Taping off your outlets and light covers can take a lot of time. And not taping them increases the risk of getting paint on them and spoiling your finish.
To speed up your painting project remove your plate covers from outlets and plugs.
PRO TIP: To avoid losing the screws, screw them back into the hole without the cover on.
If someone has previously painted without removing the covers, you may have to carefully cut around the perimeter of them so that they properly detach. You then want to sand down any paint edges before you go in with a fresh coat.
While it’s probably easier to replace painted covers, you may be able to clean with a lot of patience, warm water, and household cleaner.
RELATED: Ideas, tips & inspiration for your next home renovation or DIY project ...
4. Tape Everything Off
Use painter's tape to tape off all the borders of the room before you paint. This includes anywhere that the walls meet moldings, ceilings, floors, and other architectural details.
If you haven't already, wipe down the walls before you lay down your tape. This will prevent dust and other debris from messing the tape’s stickiness. Next, apply the tape using short overlapping strips and press it down firmly. This will help ensure a clean, straight finish.
PRO TIP: Putty knives can be a helpful tool for getting tape pressed into corners.
If you have a textured ceiling, run a flat screwdriver along the edge of the ceiling to create an unnoticeable texture free surface to apply tape. Be sure to wipe off loose spackle before applying the tape to prevent the paint from bleeding.
If you’re painting the ceiling as well, paint it first. Let it dry and then tape it off before you apply wall paint.
If you're painting the baseboards and molding, taping them off while you do the wall paint is optional. But if you don’t tape them off, be careful to limit the amount of wall paint you get on them for a cleaner finish. The darker your wall colour, the more important it is to avoid painting your molding.
Once wall paint is properly dried, tape off the wall along the moldings before painting them
To prevent peeling, remove the tape soon after the paint dries (and according to the tape’s instructions). If the tape is stuck from too much paint, use a knife to cut along the tape’s edge.
5. Buy The Right Paint
When buying your supplies, you want to choose a paint that makes sense for your room. For example, if you’re doing a bathroom or kitchen you will want special paint with a mildew resistant additive.
You also want to choose the right finish. What makes sense for you will ultimately be based on your preferences, but here are some guidelines if you are unsure:
Gloss: Reflective and easy to clean. Best for wood trim, cabinets and doors.
Semi-gloss: Less reflective but still durable and easy to clean. Best for kitchens, bathrooms, utility rooms, trim and closet doors.
Satin: Just a bit of shine but still easy to clean. Best for high traffic areas like kids bedrooms, kitchens, living rooms, entries and halls.
Matte: Absorbs light instead of reflecting it and shows less imperfections. Best for bedrooms, uneven walls and walls with texture.
You also want to make sure you buy the right amount of paint. Otherwise, you could end up with colours that are slightly different from one can to the next.
To figure out how much paint you need for your room, you will need the square footage of each wall. To get the square footage of each wall, multiply the length of a wall by the height. Do this for each wall and add the numbers together for the total square footage of your room.
1 gallon covers about 400 square feet. If you need more than one gallon of paint, mix them in a 5 gallon pail so that there is no variation in colour.
RELATED: 9 easy bathroom makeover ideas you can do in a day ...
6. Edge The Wall First
When paint a room, you want to start at the top and move down. The main reason for this is that gravity can cause paint to drip. Painting top to bottom will stop drips, spray and splatter from ending up on surfaces you’ve already painted.
Start painting your room by edging the walls with a brush (this is also called cutting in or trimming).
To edge, dip your into your paint a third of the way into your can of paint. Clean it off by tapping it against the side of the can instead of dragging it along the edge. Hold the brush like a pencil and brush along any areas that will be hard to reach with your roller, including where the wall and ceiling meet, in corners and around sockets. To avoid drips, you want to feather the edges. This is done by dragging the brush out towards the wall while slowly lifting away from the wall. Once you have edged your wall, you can fill in the middle with a roller.
Do one wall at a time so your paint doesn’t have time to dry before you start rolling.
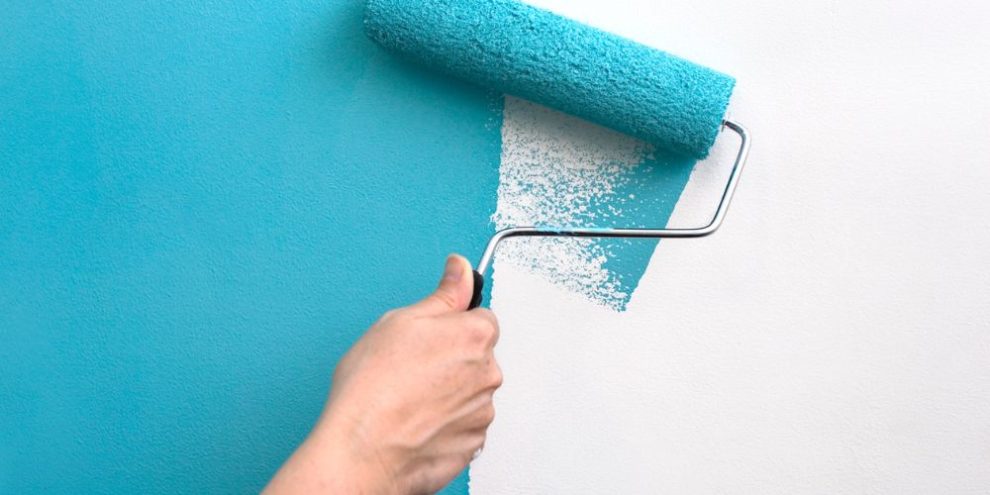
7. Roll The Right Way
It can be tempting to simply dip your roller into your paint and get to it. But taking time to prep your roller will make the process easier and give you a better finish.
To start, you want to dampen the outside of the roller. Do this by wrapping a wet rag around the roller and squeezing gently.
Once the roller is damp, barely dip it into your paint pan – do not submerge the roller. Roll the roller along the pan a few times to even out the distribution and avoid drips and splatters.
For walls and smooth ceilings, you want to use a low nap roller. If you have a textured ceiling use a roller with ½” to ¾” nap.
When applying paint to the wall with your roller, start near the edge and move out. Go slow and steady to avoid platter and move in a zigzag pattern for the best coverage possible. Work in small sections from top to bottom then go back along the edges if you need to.
To get close to the ceiling and baseboards, turn your roller sideways.
Once the paint coverage gets thin, don't squeeze the roller against the wall. Instead, load it up with more paint. To avoid drips when removing the roller from the wall, lightly roll down as you pull away.
8. Use Primer
Primer helps seal the wall, prevents mold, and is necessary when going from a darker to lighter colour. You can buy primer and paint separately or you can look for a product that offers paint and primer in one.
You will use the same method to apply primer as you would with paint. Be sure to let the primer dry fully before adding a coat of paint.
9. Take Proper Care Of Rollers And Paint Brushes
If you’re taking a break or are between coats, wrap your brush and roller in plastic wrap or a plastic bag and put it in your fridge. This prevents the paint from drying and saves you from constantly having to wash your tools.
When you’re completely finished painting, thoroughly wash everything and let it dry before putting it away.
Latex paint is the most popular choice for painting homes as it creates less fumes and is easier to clean. To clean latex paint off your tools, run them under water and use a cleaning brush to work out the paint. Rinse your tools then work in some hand soap. Rinse again and then reshape your brushes.
While following all these steps will add some extra time to your painting process, it will pay off in the end. Not only will the finished product look more professional, it will also help you paint look better for longer.
RELATED: 7 easy and budget-friendly ideas for updating your bedroom ...